









Prepare identity, service targets and customer access before publishing the support channel.
Before you start
- Choose a stable public address and support contact.
- Agree the primary language, timezone and realistic SLA targets.
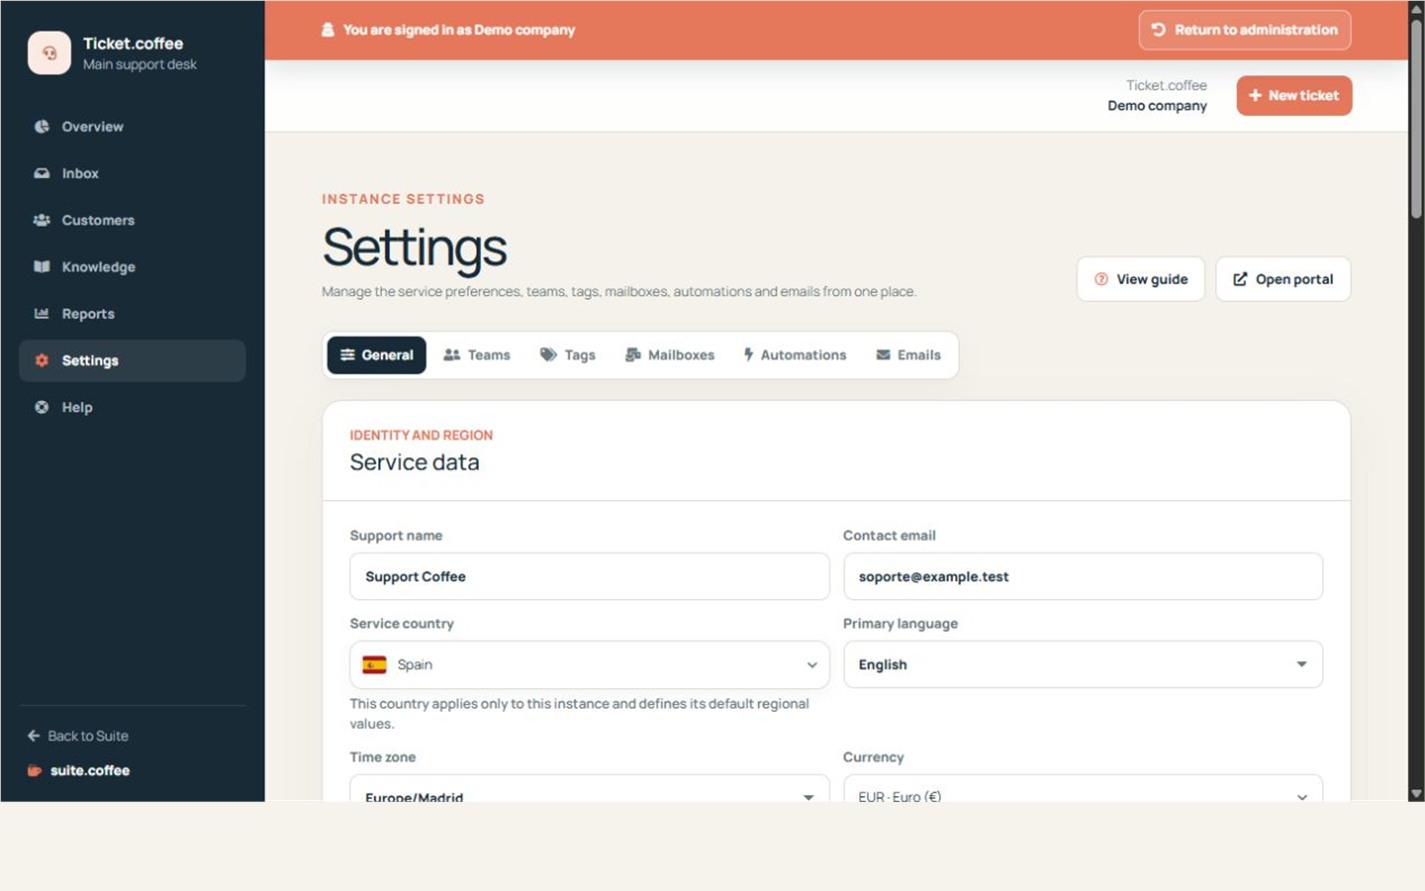
Complete the initial set-up
Define the support name, primary language, timezone and contact address. Then create the first team and mailbox and set realistic first-response and resolution targets.
Publish the support form
Choose a stable public address and confirm that public ticket creation is enabled. Every request requires email verification. The first verified request for an email address also creates its customer access for this specific Ticket service.
Use the overview
The dashboard prioritises open, unassigned, waiting and overdue tickets. Treat it as the starting point for daily triage.
Step by step
- Open Settings.
- Review support name, public address, language and timezone.
- Set first-response and resolution targets.
- Enable only the public creation, reply and close actions you intend to support.
- Save and open the public portal.
Final check
- The public address opens this service.
- Customer permissions match the support policy.
- The service has an active team and mailbox.
Tip: Credentials and customer access belong to this Ticket instance, not to every Ticket service that uses the same email.