










Give customers a verified and service-specific path from the first request to every later reply.
Before you start
- Publish the public support address.
- Confirm outbound verification, welcome and recovery emails are configured.
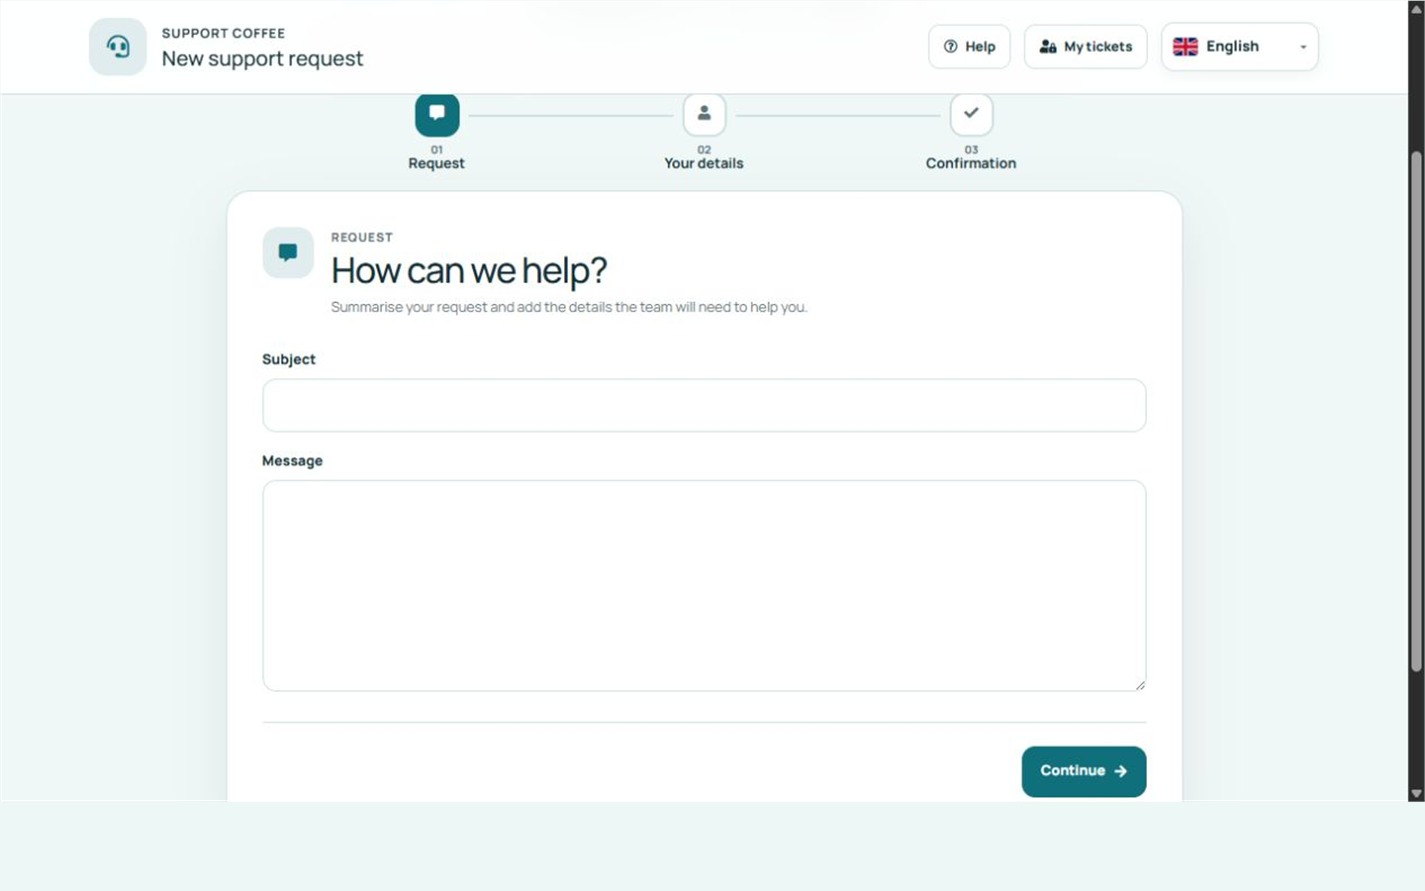
Create a verified request
The public assistant collects the subject, message and contact details, then sends a six-digit code to the requester email. The ticket is created only after that code is validated.
Understand first access
The first verified ticket for an email address in this Ticket service creates its customer account and sends a temporary password. The customer must replace it on first sign-in. Accounts belong to one service instance, so the same email may have different credentials in another Ticket service.
Continue from the portal
The customer can review all tickets assigned to this service, open the conversation, reply, close or reopen when allowed and rate resolved support. Password recovery also remains scoped to this service.
Step by step
- Open the public support address.
- Enter the request subject and message.
- Add name, email and optional phone.
- Send and enter the six-digit verification code.
- Use the emailed access to review, reply, close, reopen or rate tickets in this service.
Final check
- No ticket was created before email validation.
- First access requires replacing the temporary password.
- Another Ticket service does not reuse these credentials automatically.
Tip: Use password recovery from the exact service portal where the tickets belong.