










Automate one predictable priority decision at a time and keep every active rule auditable.
Before you start
- Describe the intended trigger, condition and outcome.
- Check for an existing overlapping rule.
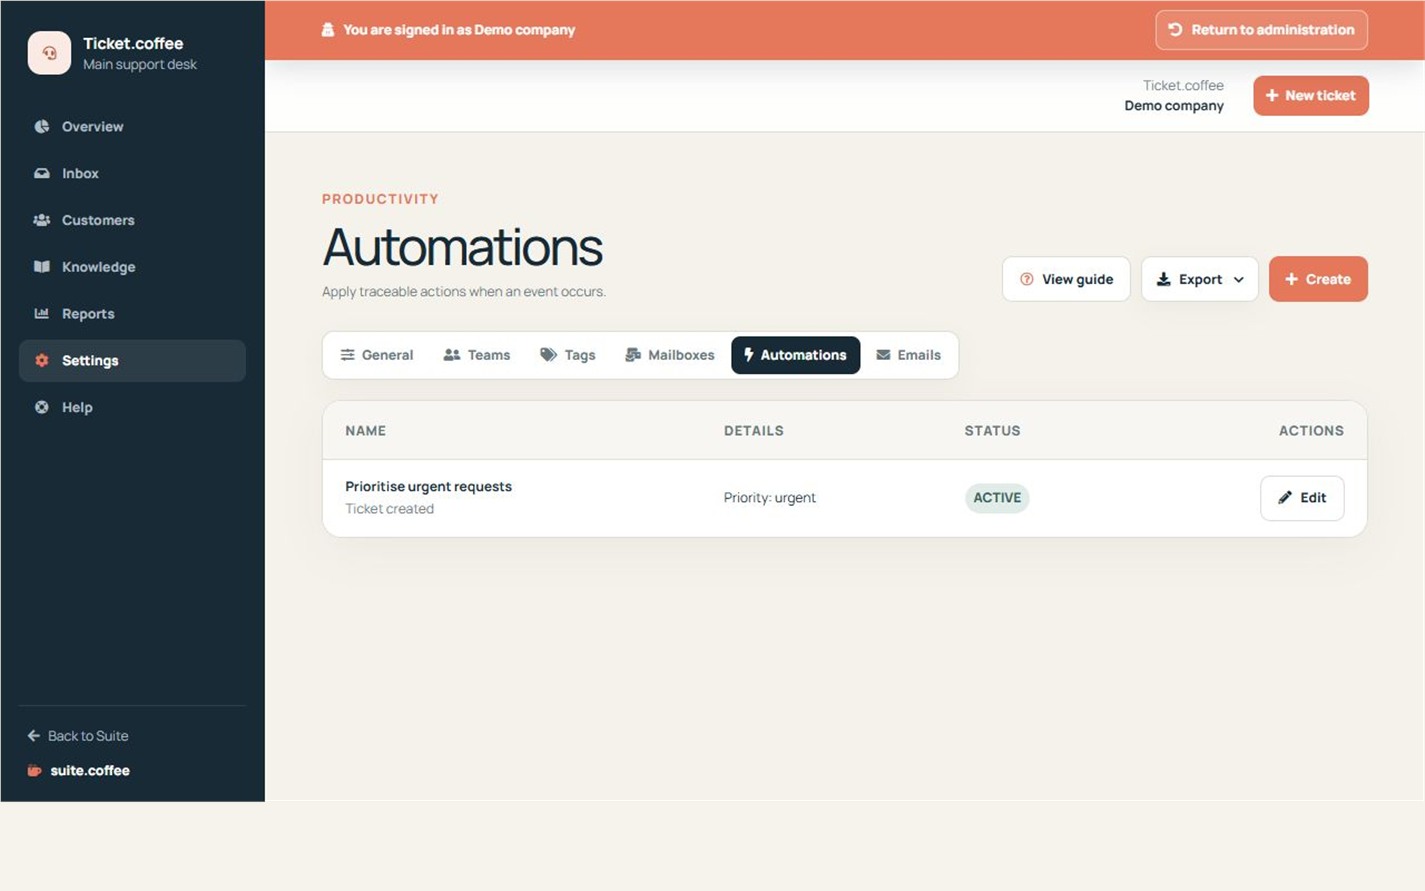
Start with a narrow rule
Choose the supported trigger, add a priority condition when needed and define the resulting priority. Name the rule after the outcome so the team can audit it.
Test before expanding
Ticket automations currently perform the actions exposed by the form; they are not a general workflow engine. Keep overlapping active rules to a minimum.
Step by step
- Open Settings and Automations.
- Create a rule named after its result.
- Choose the supported ticket event.
- Add the priority condition when needed.
- Set the resulting priority, activate and test with a controlled ticket.
Final check
- The rule performs only supported actions.
- Active rules do not conflict.
- A test ticket reached the expected priority.
Tip: Ticket automation is deliberately narrow; do not document an outcome the form cannot actually perform.